Lightsabers as hope: Making the brightest, sustainable-conscious lightsaber with commodity tools/materials
By Crafty Sorceress
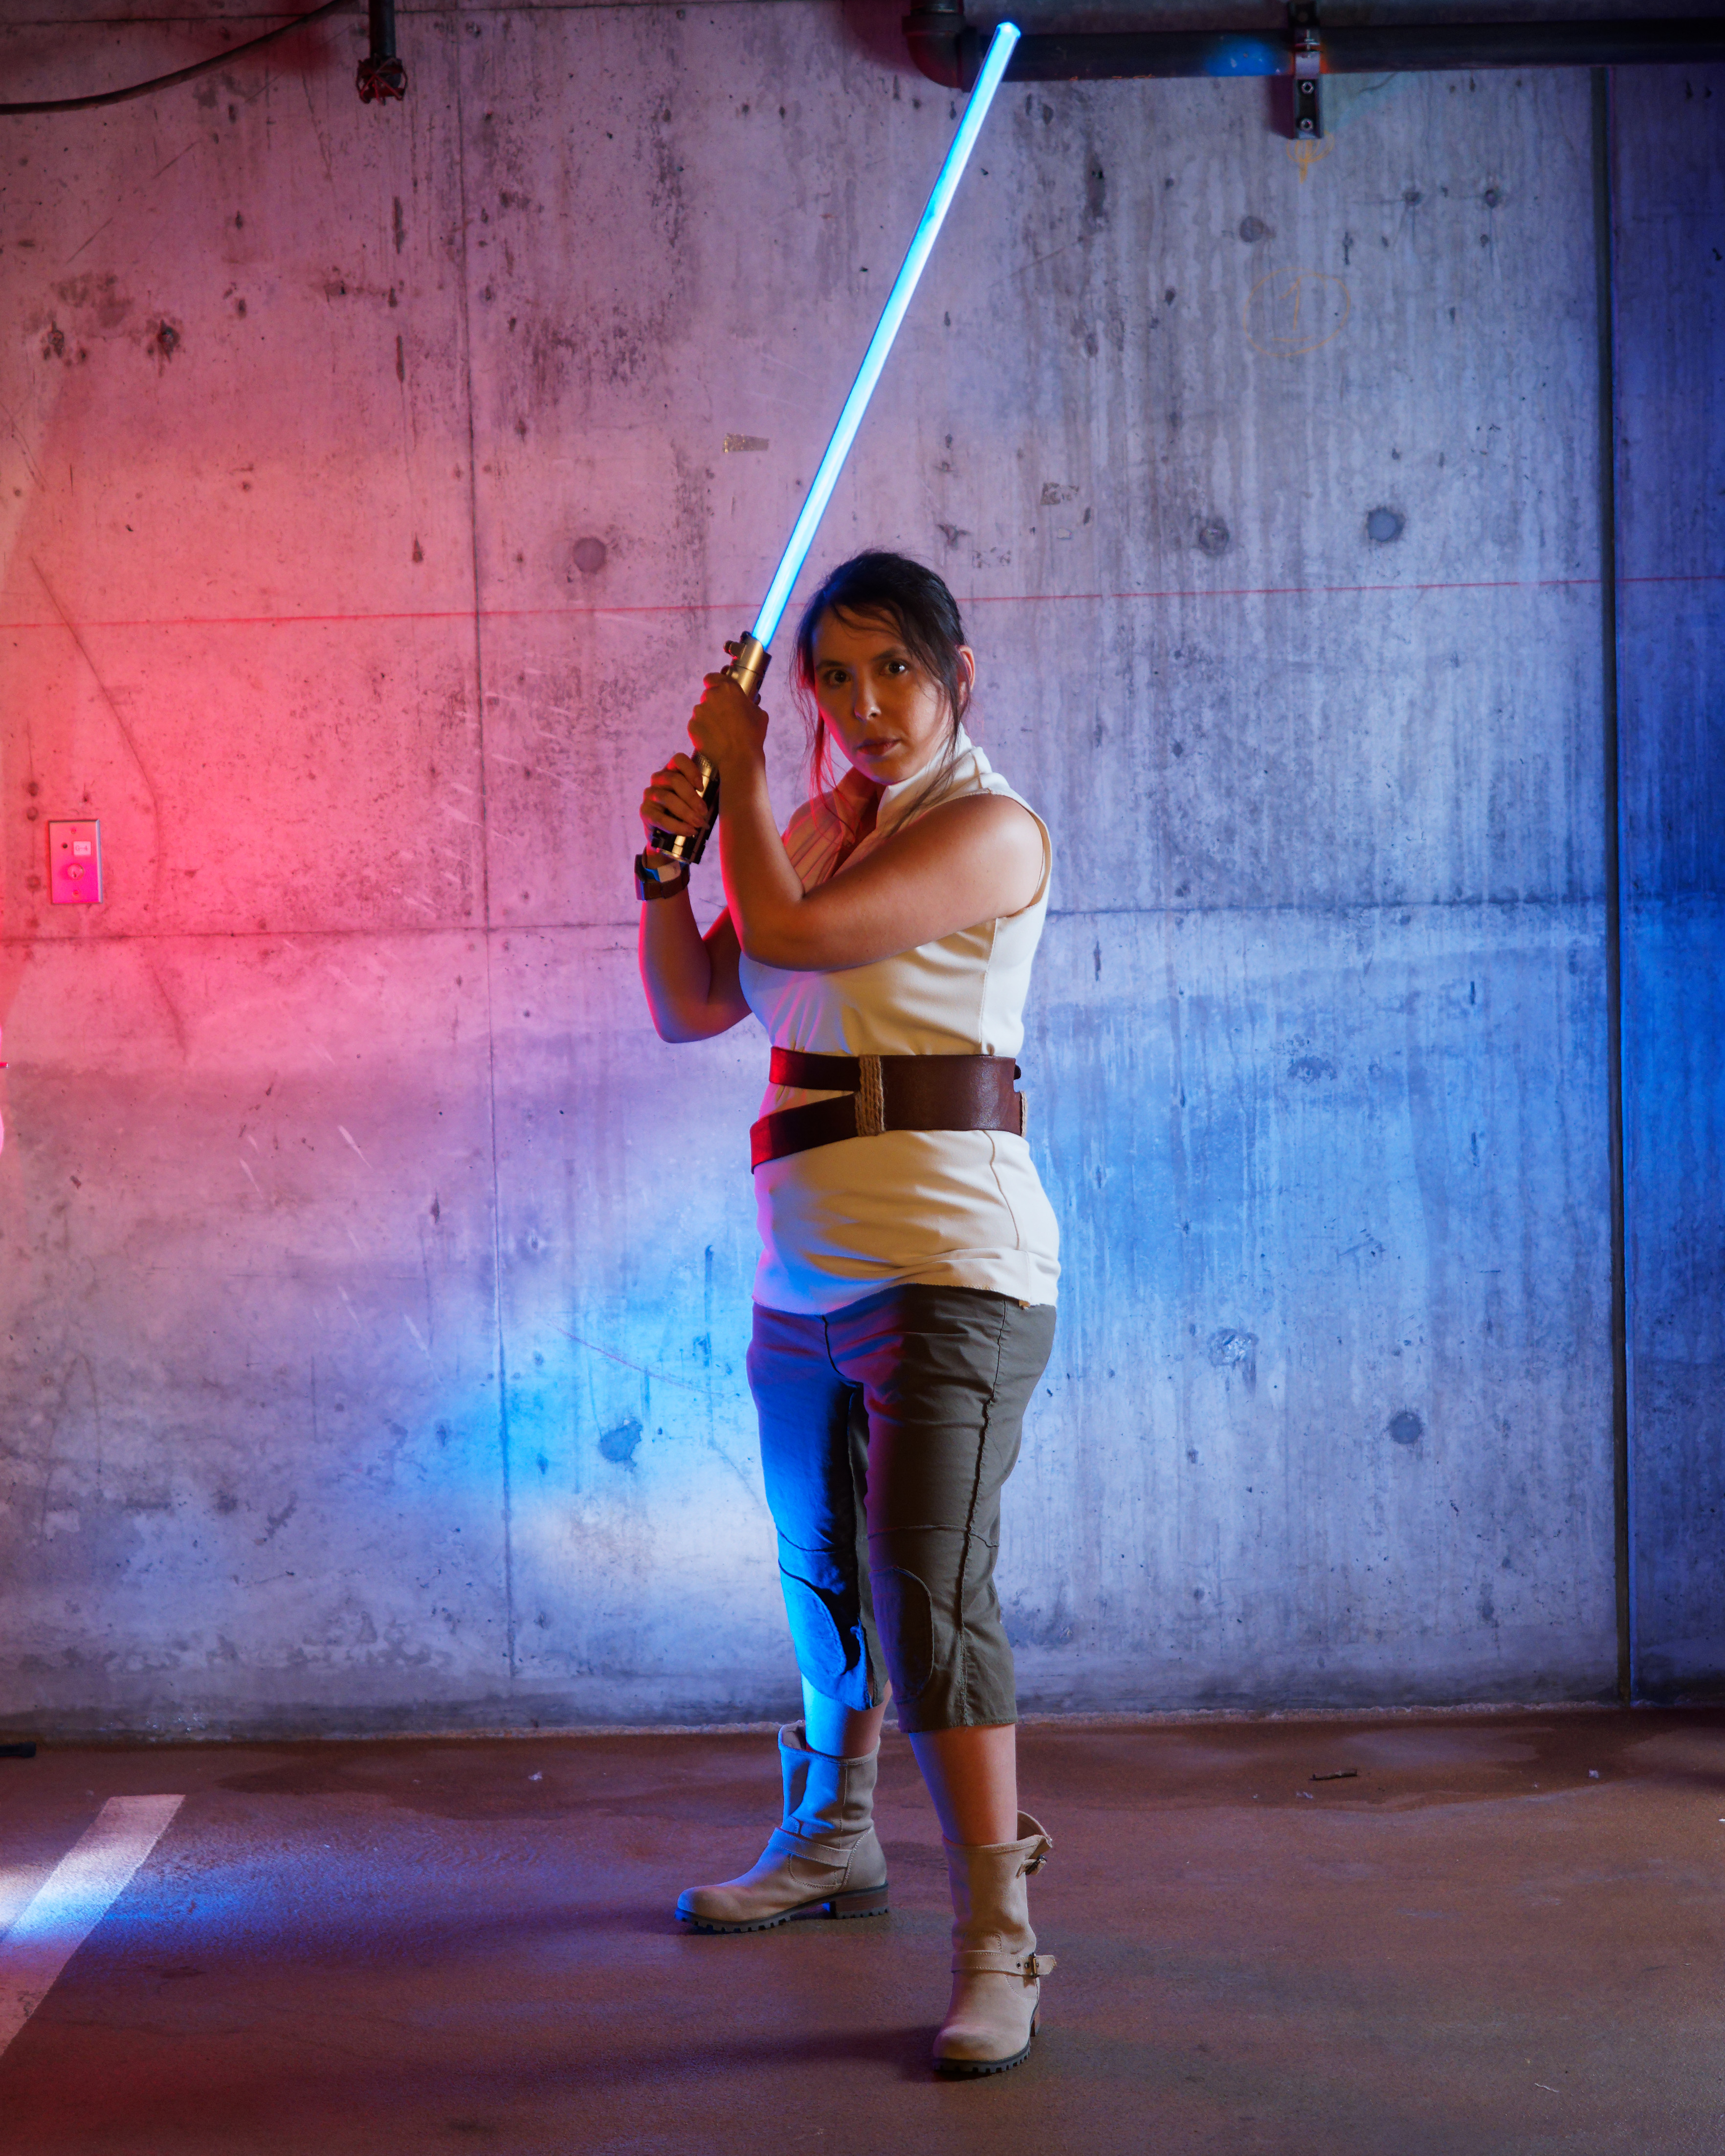
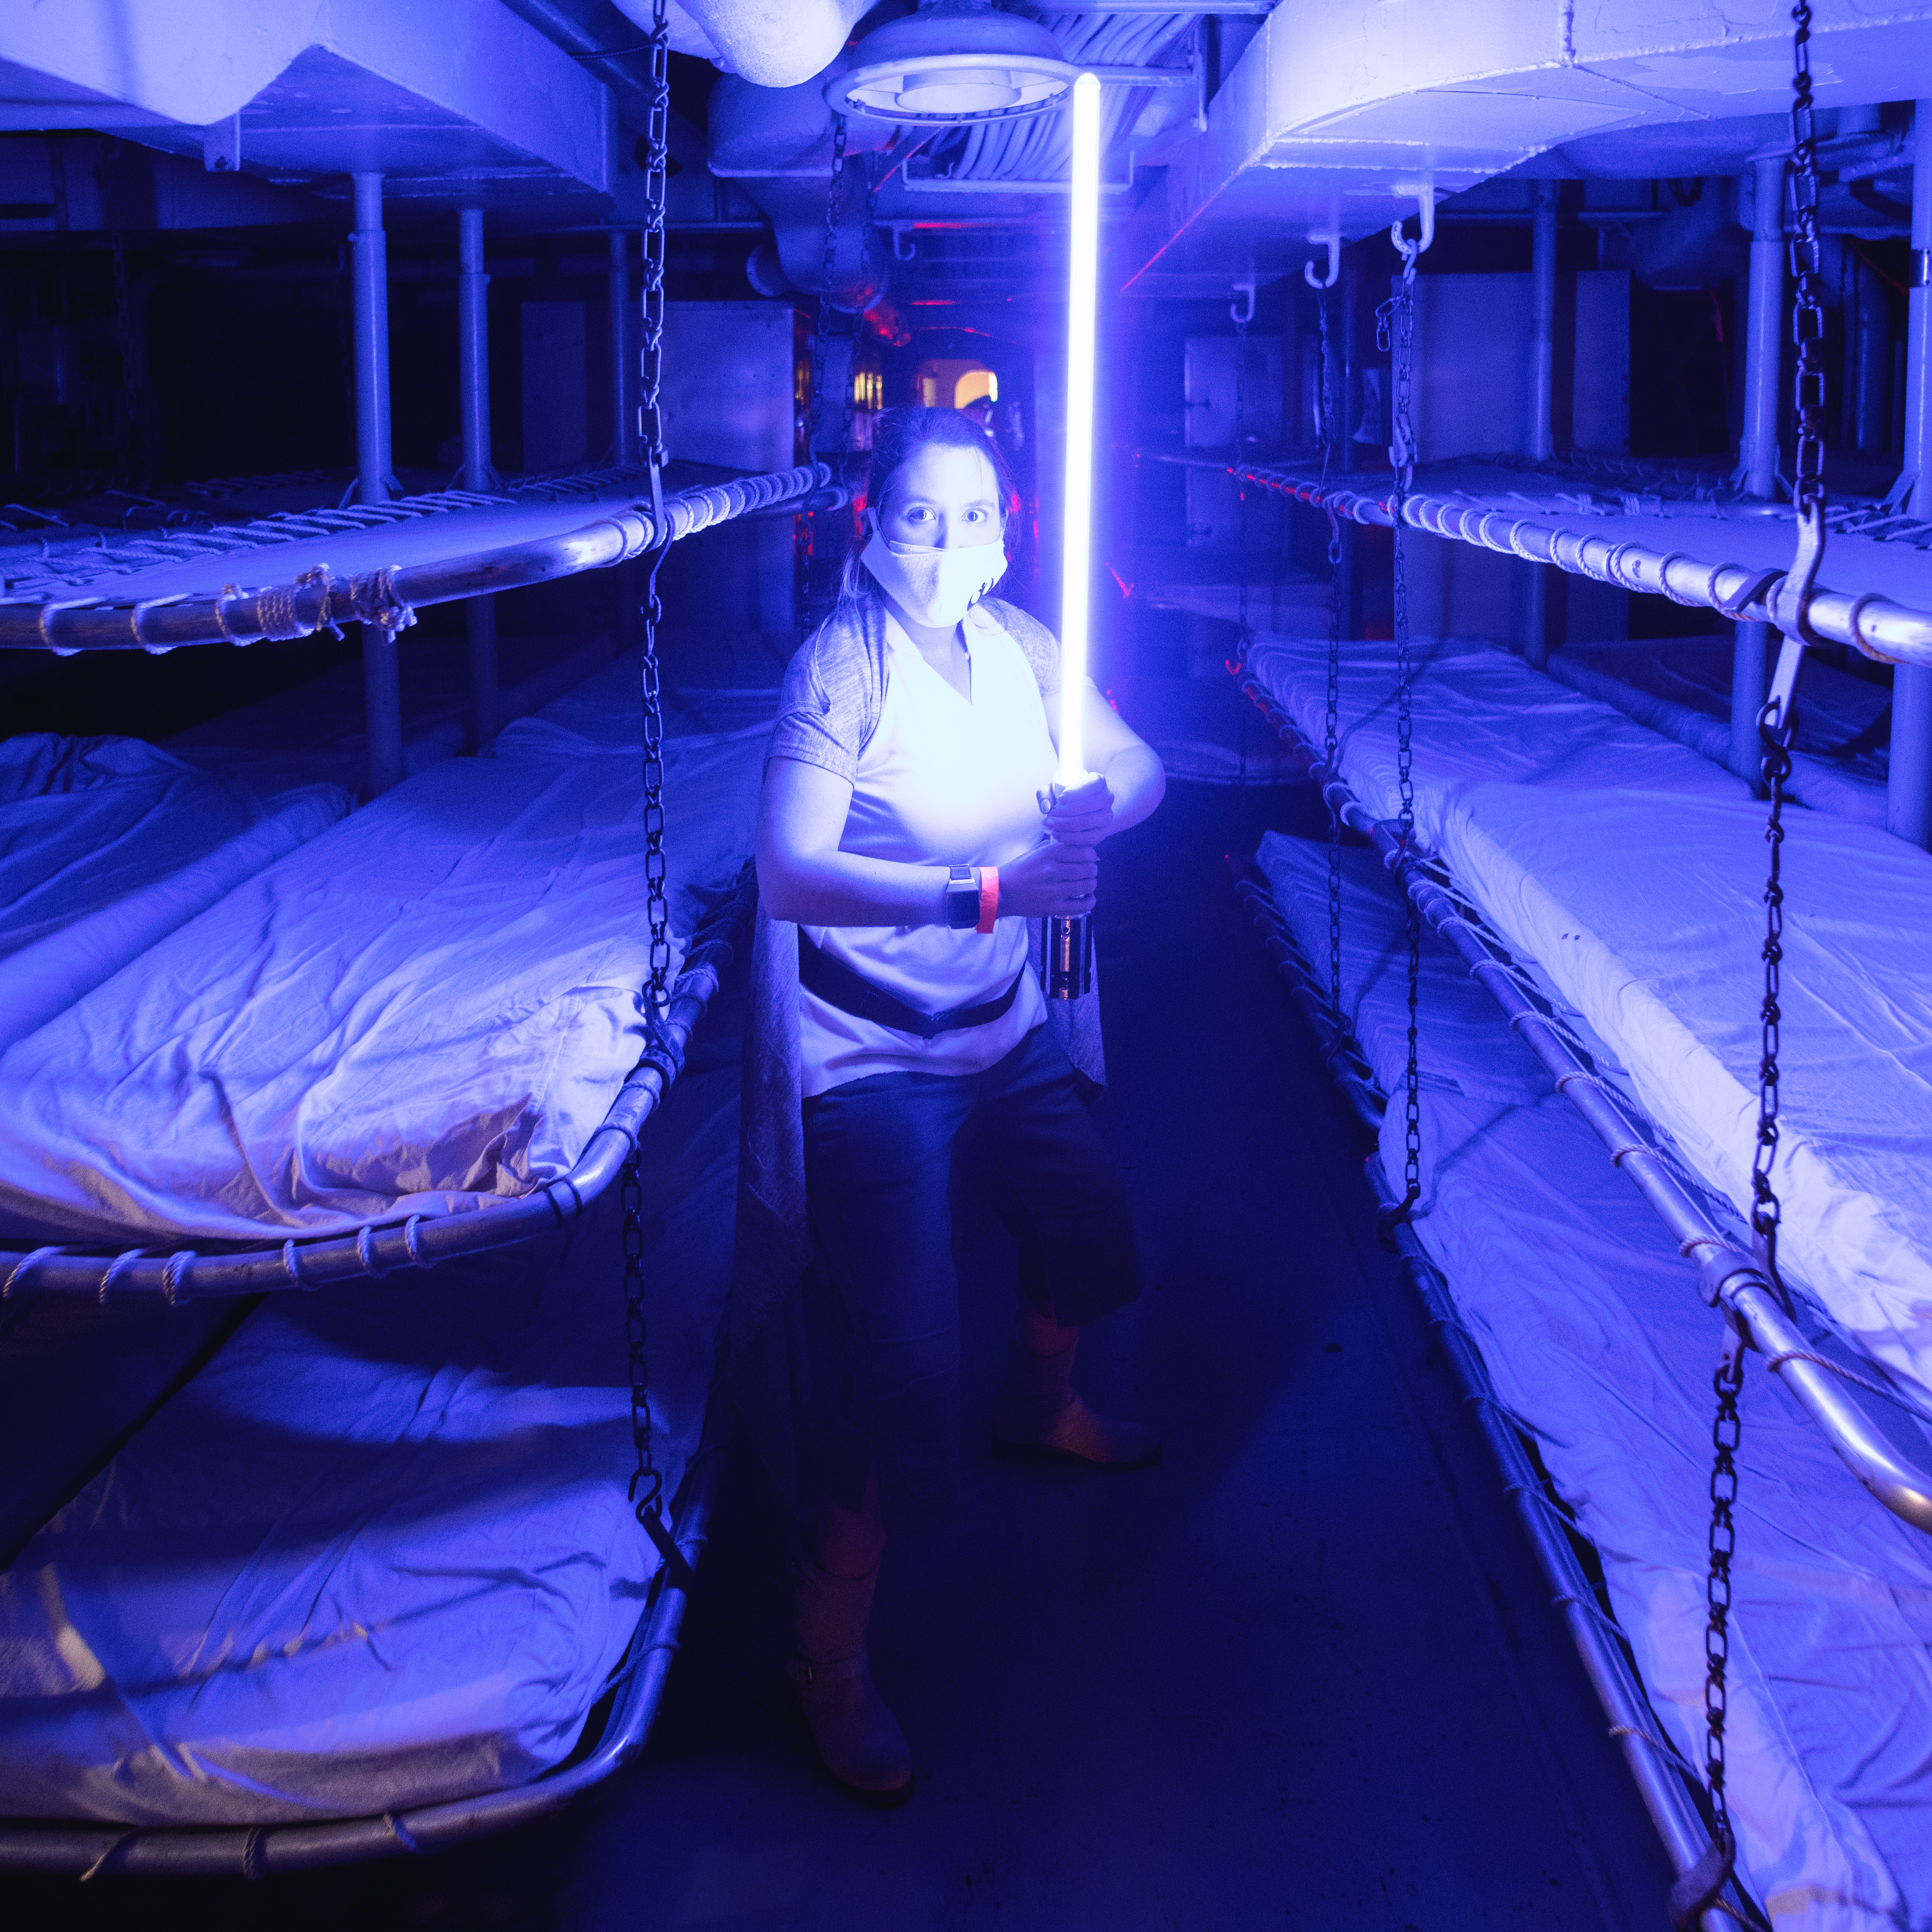
This lightsaber build is super accessible, sustainable conscious, and super bright to help photographers!
Type: Artistic, Education

About them: I’m a multi-award-winning master-level cosplayer, researcher, and professor empowering people to craft, make and build, from hand-sewing to electronics and everything in between!My costumes have been awarded multiple awards, including 1st place, best cosplay/prop, best in convention theme, and finalist in international costuming competitions. My professional experiences include costume & prop-building/managing over 100+ pieces, including university and community theater productions. My professional training is in fashion & costume design and tech from programming to microelectronics.I can draft, drape, mock-up, knit, sew, serge, solder, and even program unique interactive costumes, garments, and props. My unique skills combine traditional craft with maker and technology, and I’m able to brainstorm, design-build, and assess any technology and build desired. For more information, feel free to check out craftysorceress.com
Social:


What inspired you or what is the idea that got you started?
As a maker professor, I saw firsthand how the pandemic skewed everyone’s access to technology, the internet, and even a computer. Some of my students had to share one laptop with family members while working full-time jobs. Others camped outside of Starbucks to attend class.
I successfully taught a maker class remotely, and my students made products for non-profits, from vaccine clinics to farms, among others. My students made remotely using commodity materials, but I wanted to show the world what you can make during the pandemic.
No 3d printers, or laser cutters. I championed sustainability methods by reusing as much toy lightsabers as possible. All with inexpensive tools and novice-friendly.
But toy lightsabers generally look terrible to photograph and force our photographer friends to photoshop. With hundreds of photos, this is exhausting. I wanted the perfect shot in-person.
What is your project about and how does it work?
My project's main goals are:
- use sustainable, inexpensive, and commodity methods and tools to make a lightsaber
- make a lightsaber that requires no photoshop for our photographer friends
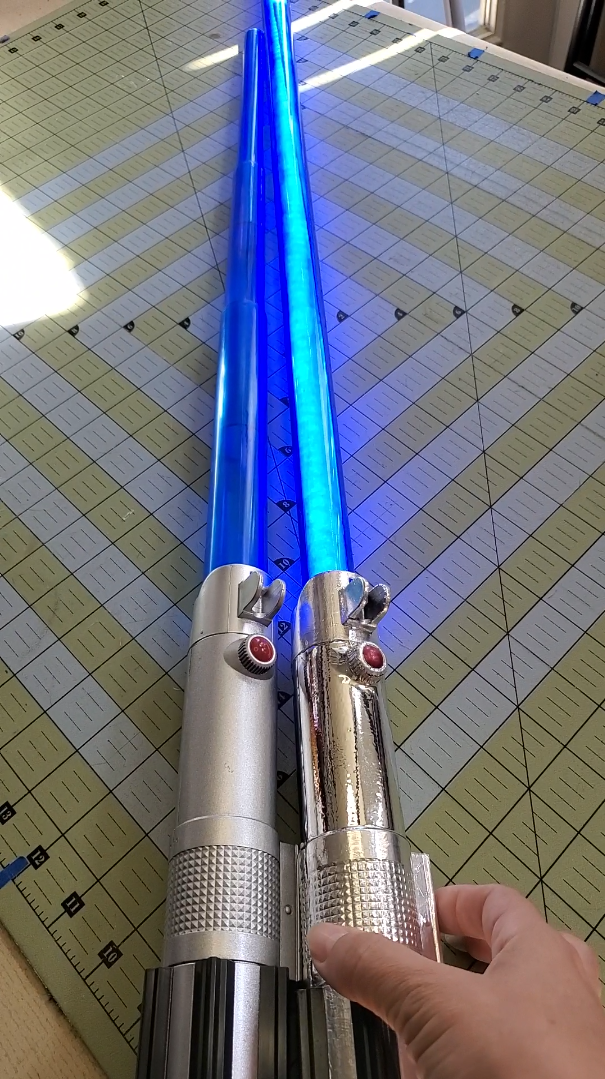
Starting with a toy lightsaber, I carved until I could fit electronic components. I soldered and iteratively carved until it could all fit in. I used a soldering iron and a rotary tool, which were inexpensive from Harbor Freight and mostly took a lot of time. I used Adafruit's lightsaber tutorial as a based and built on top of its interactions to support varying brightnesses.
I also did so many tests for lighting, including:
- different led types. I have the data sheets on what I used, and I'd love to compare what is brighter.
- tubes
- arrangements of LEDs
- diffusion techniques
- battery types
- metallic paints and other ways to cover the hilt
What did you learn by doing this project?
I delved deep into the LED world, along with lighting (lumens, datasheets, amp management, the relationship between brightness and diffusion, etc). I even explored more cutting-edge LEDs to see if they could meet my needs. I bought a total of 5 different LED types, and learned about the tradeoffs of each.
I also acquired a distaste for metallic spray paints, and a love of vinyl/metallic tape to give a lovely metallic finish.
I really explored being so constrained in size (all inside the hilt) and did my best to expand functionality. it was a fun design challenge that applies to other projects and props where I was constrained.
What impact does your project have on others as well as yourself?
Since it won Maker/NVidia's May the 4th Challenge, the resulting tutorial serves as a gateway for STEAM education. It's all novice-friendly and inexpensive as well. This build counters the notion of needing expensive tools and empowers anyone of any experience to make.
More concretely, I hope to save time from our valued photographer/videographer partners, who help make our made prototypes shine. By making a bright lightsaber that looks great on the first shot, it'll serve photographer portfolios to support their careers. By proxy, I hope it encourages more people to dive into cosplay and make their own lightsabers, knowing that the guides made by me and others support them.